The External Secrets Inc. Audit & Compliance product suite is a premium product.
It requires a specific subscription. Contact us for more information.
In order to follow this guide, be sure to already have the Audit Listener installed and configured.
Create a Policy
- Navigate to the Policies section in the left sidebar
- Click on “Create New Policy”
- Fill in the policy details:
- Policy name
- Policy Engine (select
Rego) - Policy Event Execution Criteria (select
Read)
input.ActorIdentifier is equal to "my-credentials".
On the Rule section, add the following code:
Validate Rule and check that this rule is valid and would result in a non-compliant state.
Change the Sample ActorIdentifier field to "my-credentials", and check that the rule is now valid and would result in a compliant state.
Submit the Rule or add a trigger to it.
Add Triggers to the Policy
Triggers define when the result of a policy evaluation should generate a notification and send it to a destination. To add a trigger:- Navigate to the Triggers tab of the policy creation form.
- Click “Add Trigger”.
-
Fill in the following fields:
- Destination: Select one or more existing destinations (e.g.,
reloader-webhook) - Condition: Choose when the trigger should fire. Options include:
EvaluatedNonCompliant: Fires every time the policy is evaluated as non-compliantEvaluatedCompliant: Fires every time the policy is evaluated as compliantUpdatedToNonCompliant: Fires only when the status transitions from compliant to non-compliantUpdatedToCompliant: Fires only when the status transitions from non-compliant to compliant
- Wait for Cycles: (Optional) Number of evaluation cycles to wait before sending the event.
- For example, setting
waitForCycles = 3withEvaluatedNonCompliantmeans the policy must be non-compliant for 3 consecutive evaluations before the destination is notified.
- For example, setting
- Destination: Select one or more existing destinations (e.g.,
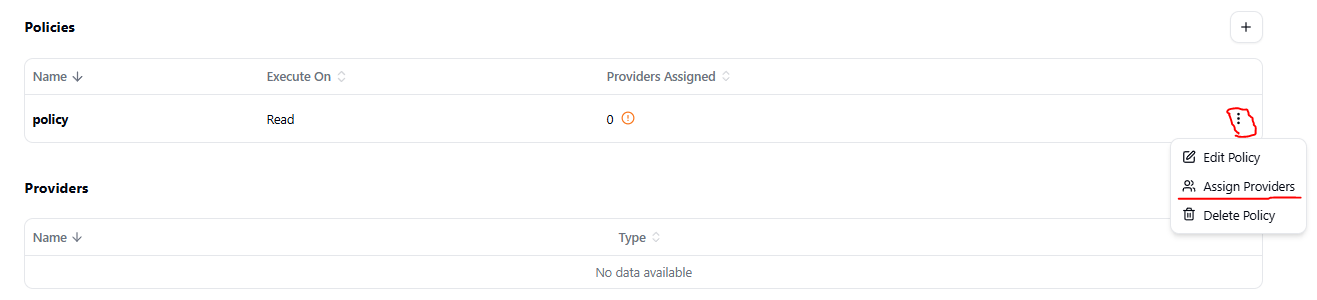
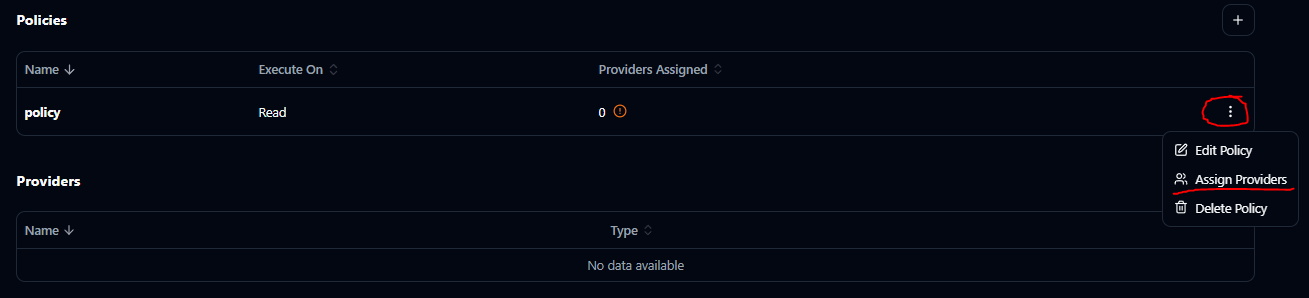
Assigning a Policy to a Provider
After the rule is created, assign it to your provider by clicking on the right side of the policy: